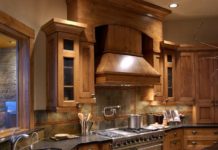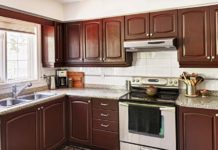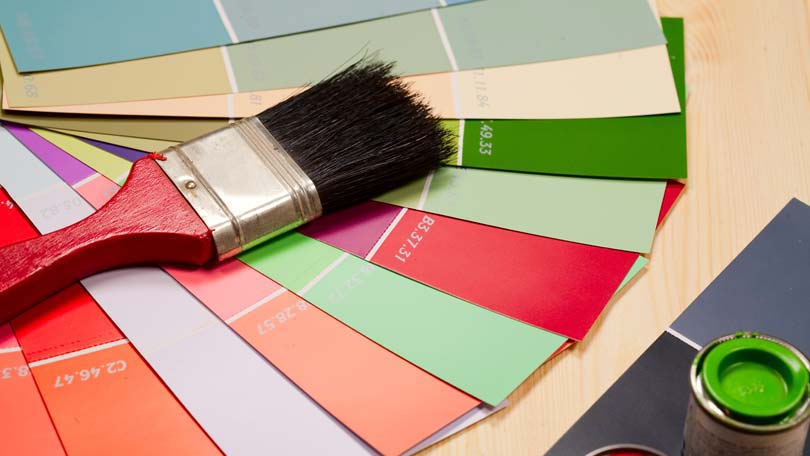
One of the easiest ways to revamp a boring old kitchen is by painting kitchen cupboards. But you need to know exactly what surface you are going to be painting before you start. The problem is that if you don’t prepare your surfaces correctly, you will end up with the paint peeling off very quickly. And what that means is a waste of time, effort and mone
So if you are going to use paint to renovate your kitchen, first assess what you are dealing with. The most usual possibilities will be:
- raw timber cupboards that have never been treated or painted previously,
- timber cupboards that may have been sealed or varnished before,
- timber cupboards that were stained and then possibly also sealed,
- previously painted kitchen cupboards,
- cupboards that were finished with a polyurethane coating, possibly in the factory, and
- cupboards made from some sort of engineered board that has been veneered or coated with a resin.
Previously varnished or painted cupboards may need to be stripped before you can paint them again. This may not be necessary if the surface is sound and there isn’t a build-up of too many layers of old paint.
If the surface has a sound paint finish, has been coated with polyurethane (in the factory for instance), or has a veneer, you will either have to sand it to some extent, or coat it with some kind of primer that has been made for this purpose. The same applies to Melamine, which is a raw material that is bonded permanently on the surface of a good quality particle board. Because the finished surface of Melamine is easy to wipe and is hard wearing, as well as heat, stain and scratch resistant, it has been a popular material for kitchen cupboards and counter tops for nearly a century.
Raw, untreated timber will also need to be primed with an appropriate product before you paint it.
Just remember that before you do anything, it’s a good idea to remove handles.
Stripping old paint and varnish
If you are going to strip paint or varnish off old kitchen cupboards, you have two basic options in terms of how you go about the process. These are to either use heat or to use a chemical of some type.
If you opt to use heat, you have a choice between either using a blowtorch or an electric hot air stripper. Both work in much the same way, although an electric stripper is less likely to scorch the material. What you do is to play the flame or hot air over the surface until the old paint begins to bubble. Then use a paint scraper to remove the softened paint. Use a flat scraper on flat surfaces, and a shaped one (sometimes called a shave hook) for moldings. These have different profiles and are invaluable tools. If you are stripping solid wood, always work with the grain.
Chemical strippers come in various different forms, either as a liquid, a gel or a paste. All you do is paint it on, let it soften the paint or varnish, and then scrape the old softened stuff off. You might have to repeat the process several times before it all comes away. Like the paint you will use for painting kitchen cupboards, chemical strippers are either solvent-based or water-soluble. So check the label on the container before you start work.
Also be careful how you handle chemical strippers because they will burn your skin. Always wear rubber gloves and if you get splashed, wash your skin immediately.
Once you have removed old paint or varnish, wash the surface thoroughly using a little soapy water or white spirit (mineral turpentine), depending on the type of stripper you used.
Allow the surface to dry thoroughly before applying paint.
Another way you can remove thin coats of paint or varnish is to use a power sander, but only if the surface you are working on is flat. Rather use the other methods if you are working on moldings.
Sanding
Often there will be little bits of paint or varnish left on the surface after you have stripped it. You can either use steel wool or abrasive sandpaper to gently work it off. It is best to work by hand, rather than using a power sander, because you have more control.
If you do any sanding with a power sander, you will have several choices of what type to use. Belt sanders will remove paint quickly and efficiently, but you have to take care not to remove some of the wood as well. You could use a disc sander, fitted to an electric drill, but these tend to scour the wood and leave marks. Probably the best option is an orbital sander, which has a large, flat surface and an action similar to polishing. They are relatively small, inexpensive and easy to control, but like all power sanders, are not suitable for moldings.
If you are going to be painting over a smooth polyurethane surface, Melamine or over some type of veneer, then you can give the surface a rough sanding so that the paint has something to key. This is a good way to prevent the new paint from peeling over time. Just be careful not to sand too much off. The aim is not to remove the polyurethane or veneer, just to roughen the surface.
Priming surfaces
There are lots of different primers on the market, some for very specific purposes. The basic role of a primer is to provide a base for the top coat or coats of paint, and to protect the surface you are painting from deterioration. Wood primers will also ‘feed’ the wood to a certain extent.
You should always paint over primers – they are not manufactured to be left as a top coat.
Just like other types of paint, primers are sometimes water-based and sometimes solvent-based. You will need to make sure that whatever you use is compatible with the paint you are going to apply afterwards.
One particularly useful primer is manufactured specially for use on smooth surfaces like Melamine and tiles. Look out for products that are water-based and that can be over-coated with both solvent- and water-based paints. The beauty of tile and Melamine primers is that they promote adhesion without you having to sand glossy surfaces before painting over them.
Finally, painting kitchen cupboards
By now you should know whether you are going to use a water-based or solvent-based paint. But there is another possibility to consider, and that is a paint effect of some type. For example, you might like to create a wood grain effect, or drag the cupboards to create a sophisticated textured look.
Generally enamel paints (which can be either water- or solvent-based) are more suitable for kitchen cupboards, because they are harder wearing. But if you are going to do certain paint effects, you might want to work with a flat PVA and simply wash color over it. In this case you will need to seal the surface. Just be sure to choose a product that won’t yellow and change the color. With today’s specialist water-based glazes, you can even do wood graining on an acrylic surface. But do your homework thoroughly first to be sure products will work together. Also, if you’ve never tackled a paint technique before, it’s a good idea to buy a piece of board, coat it with whatever paint you are using, and experiment on the board until you are happy with the result. Don’t experiment on your cupboard doors.
If you are just going to give your cupboards a straightforward coat of paint, all you will need is a paintbrush and the paint. Paint in the direction of the grain, or how grain would run if you were painting solid wood, and get rid of brush strokes and any drips. Use masking tape to prevent the paint from getting onto walls or any trim, and also to protect any hinges that might get painted by mistake.
Wait until the paint is absolutely dry before you screw handles back into place.

